

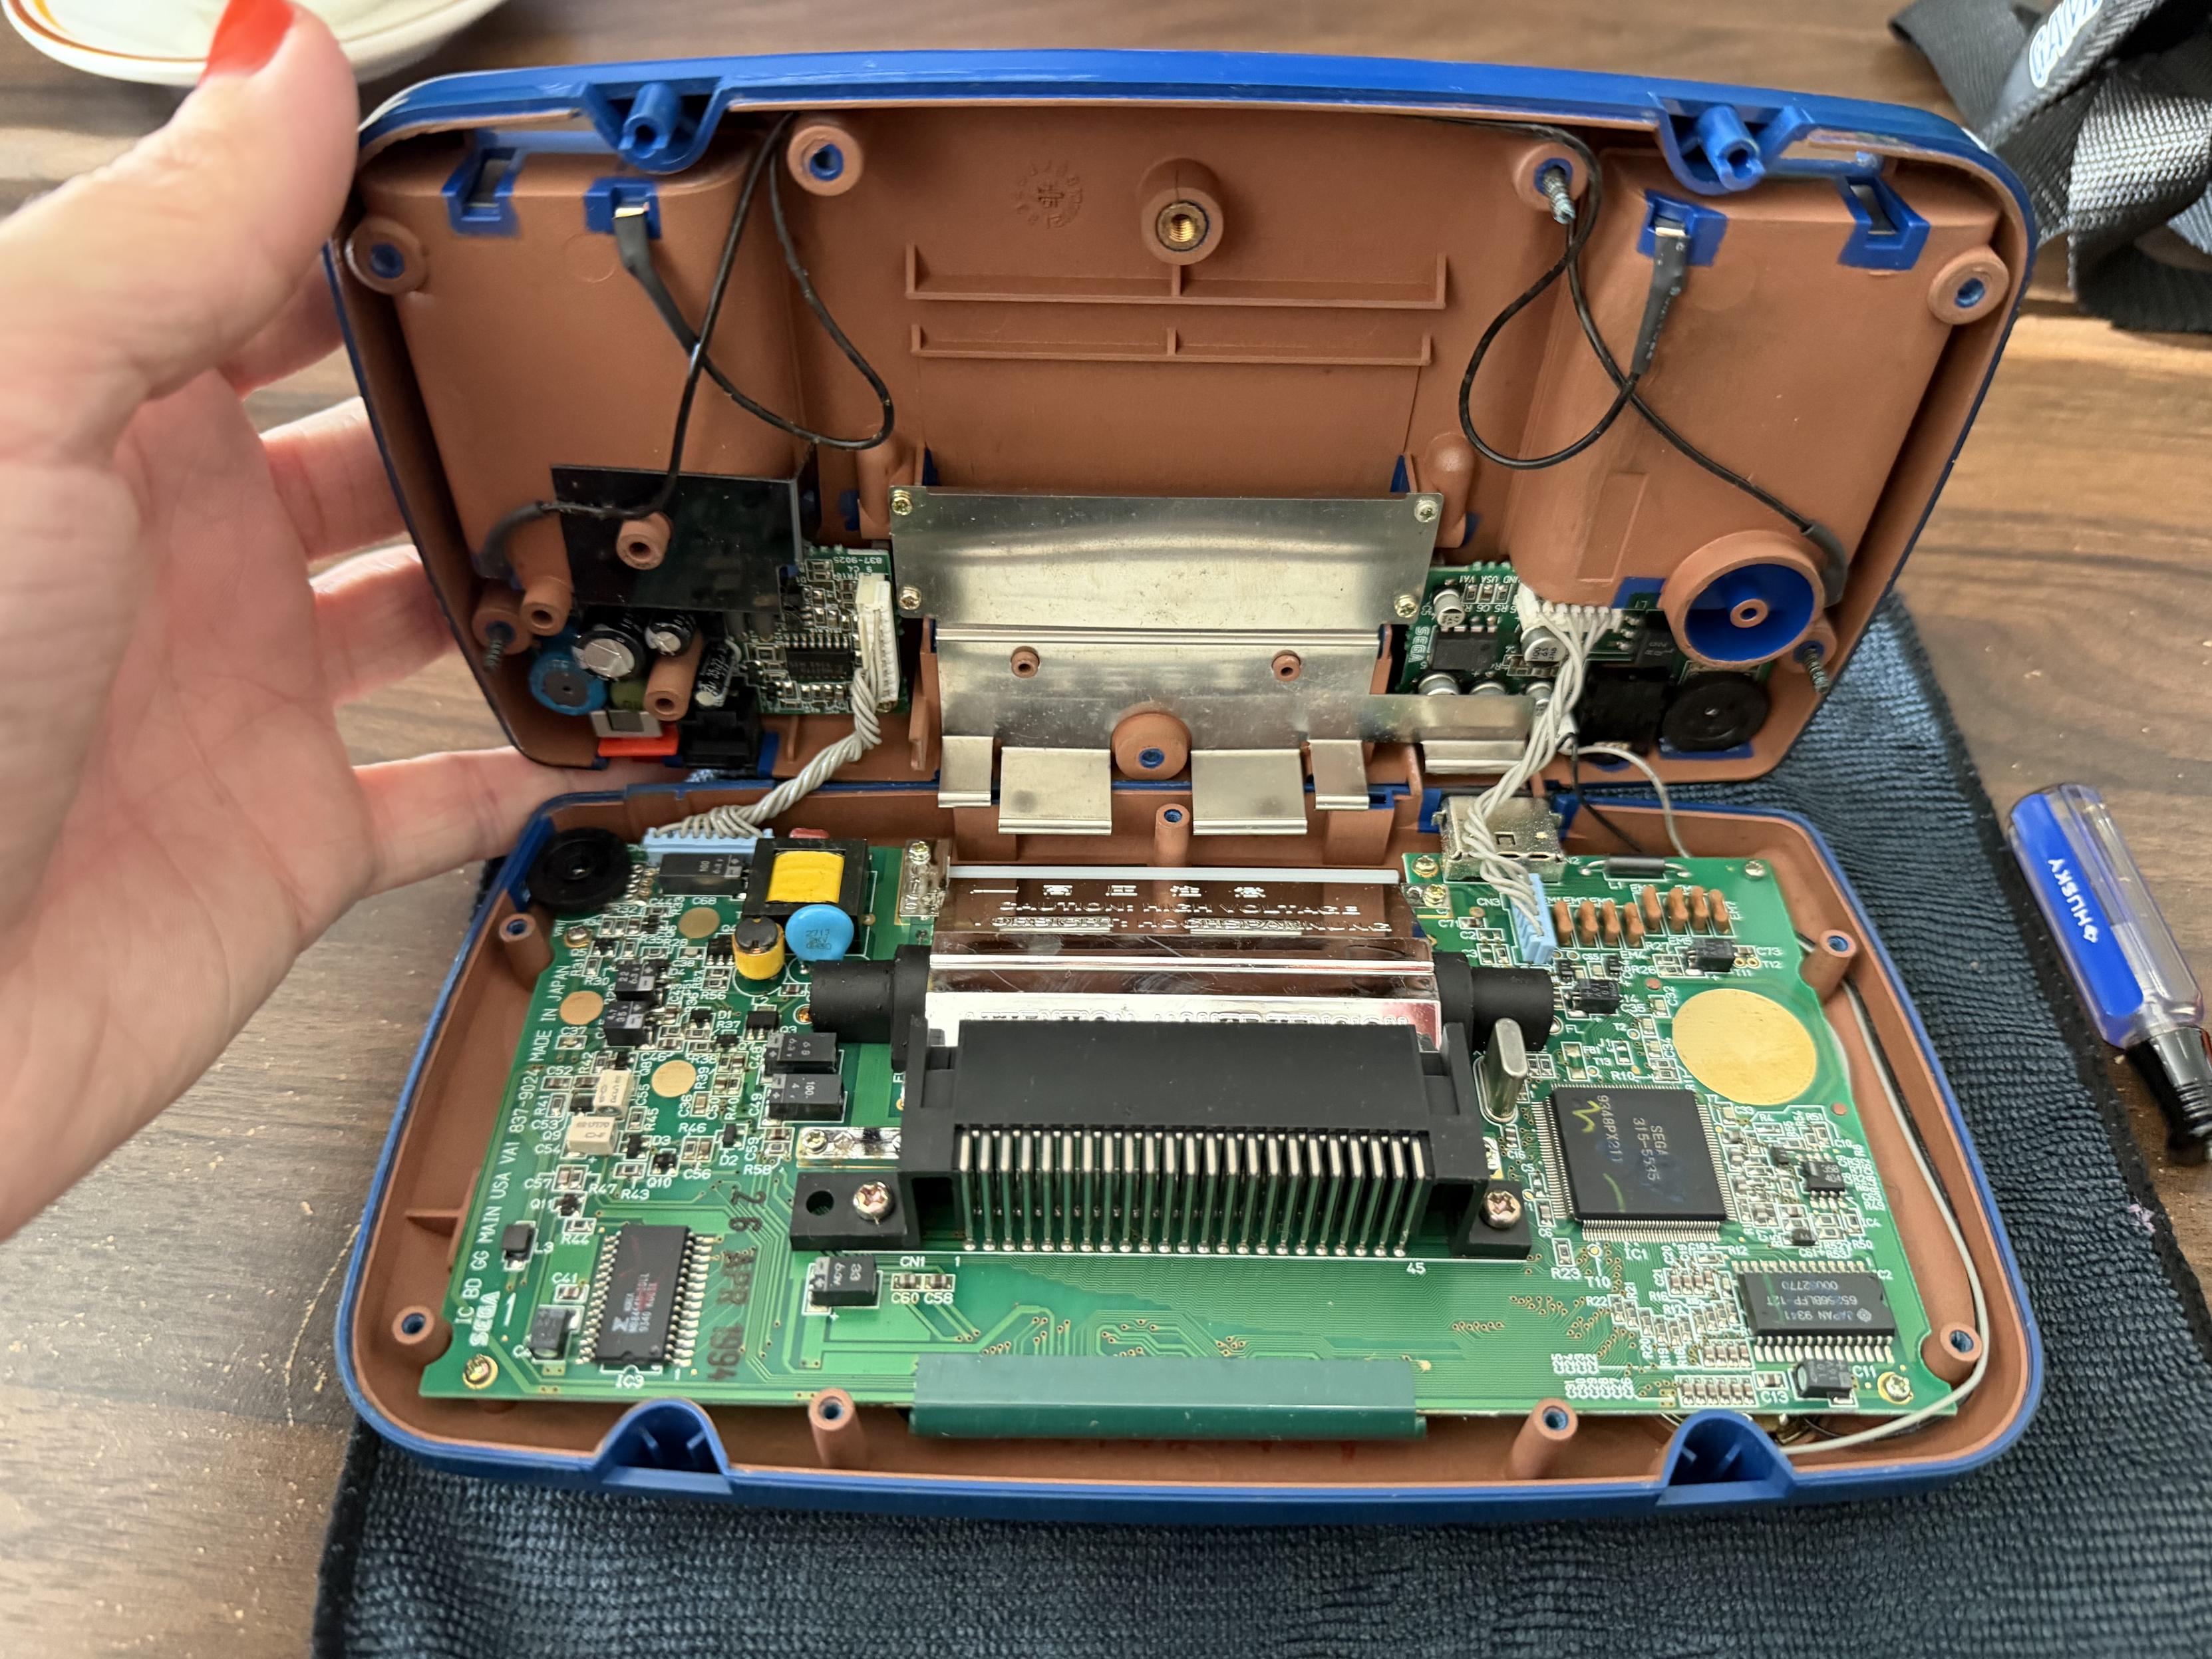
The Game Gear is already pretty big, but based on how the guts are crammed into this case, it coulda been bigger.
1 Boost
0 Likes
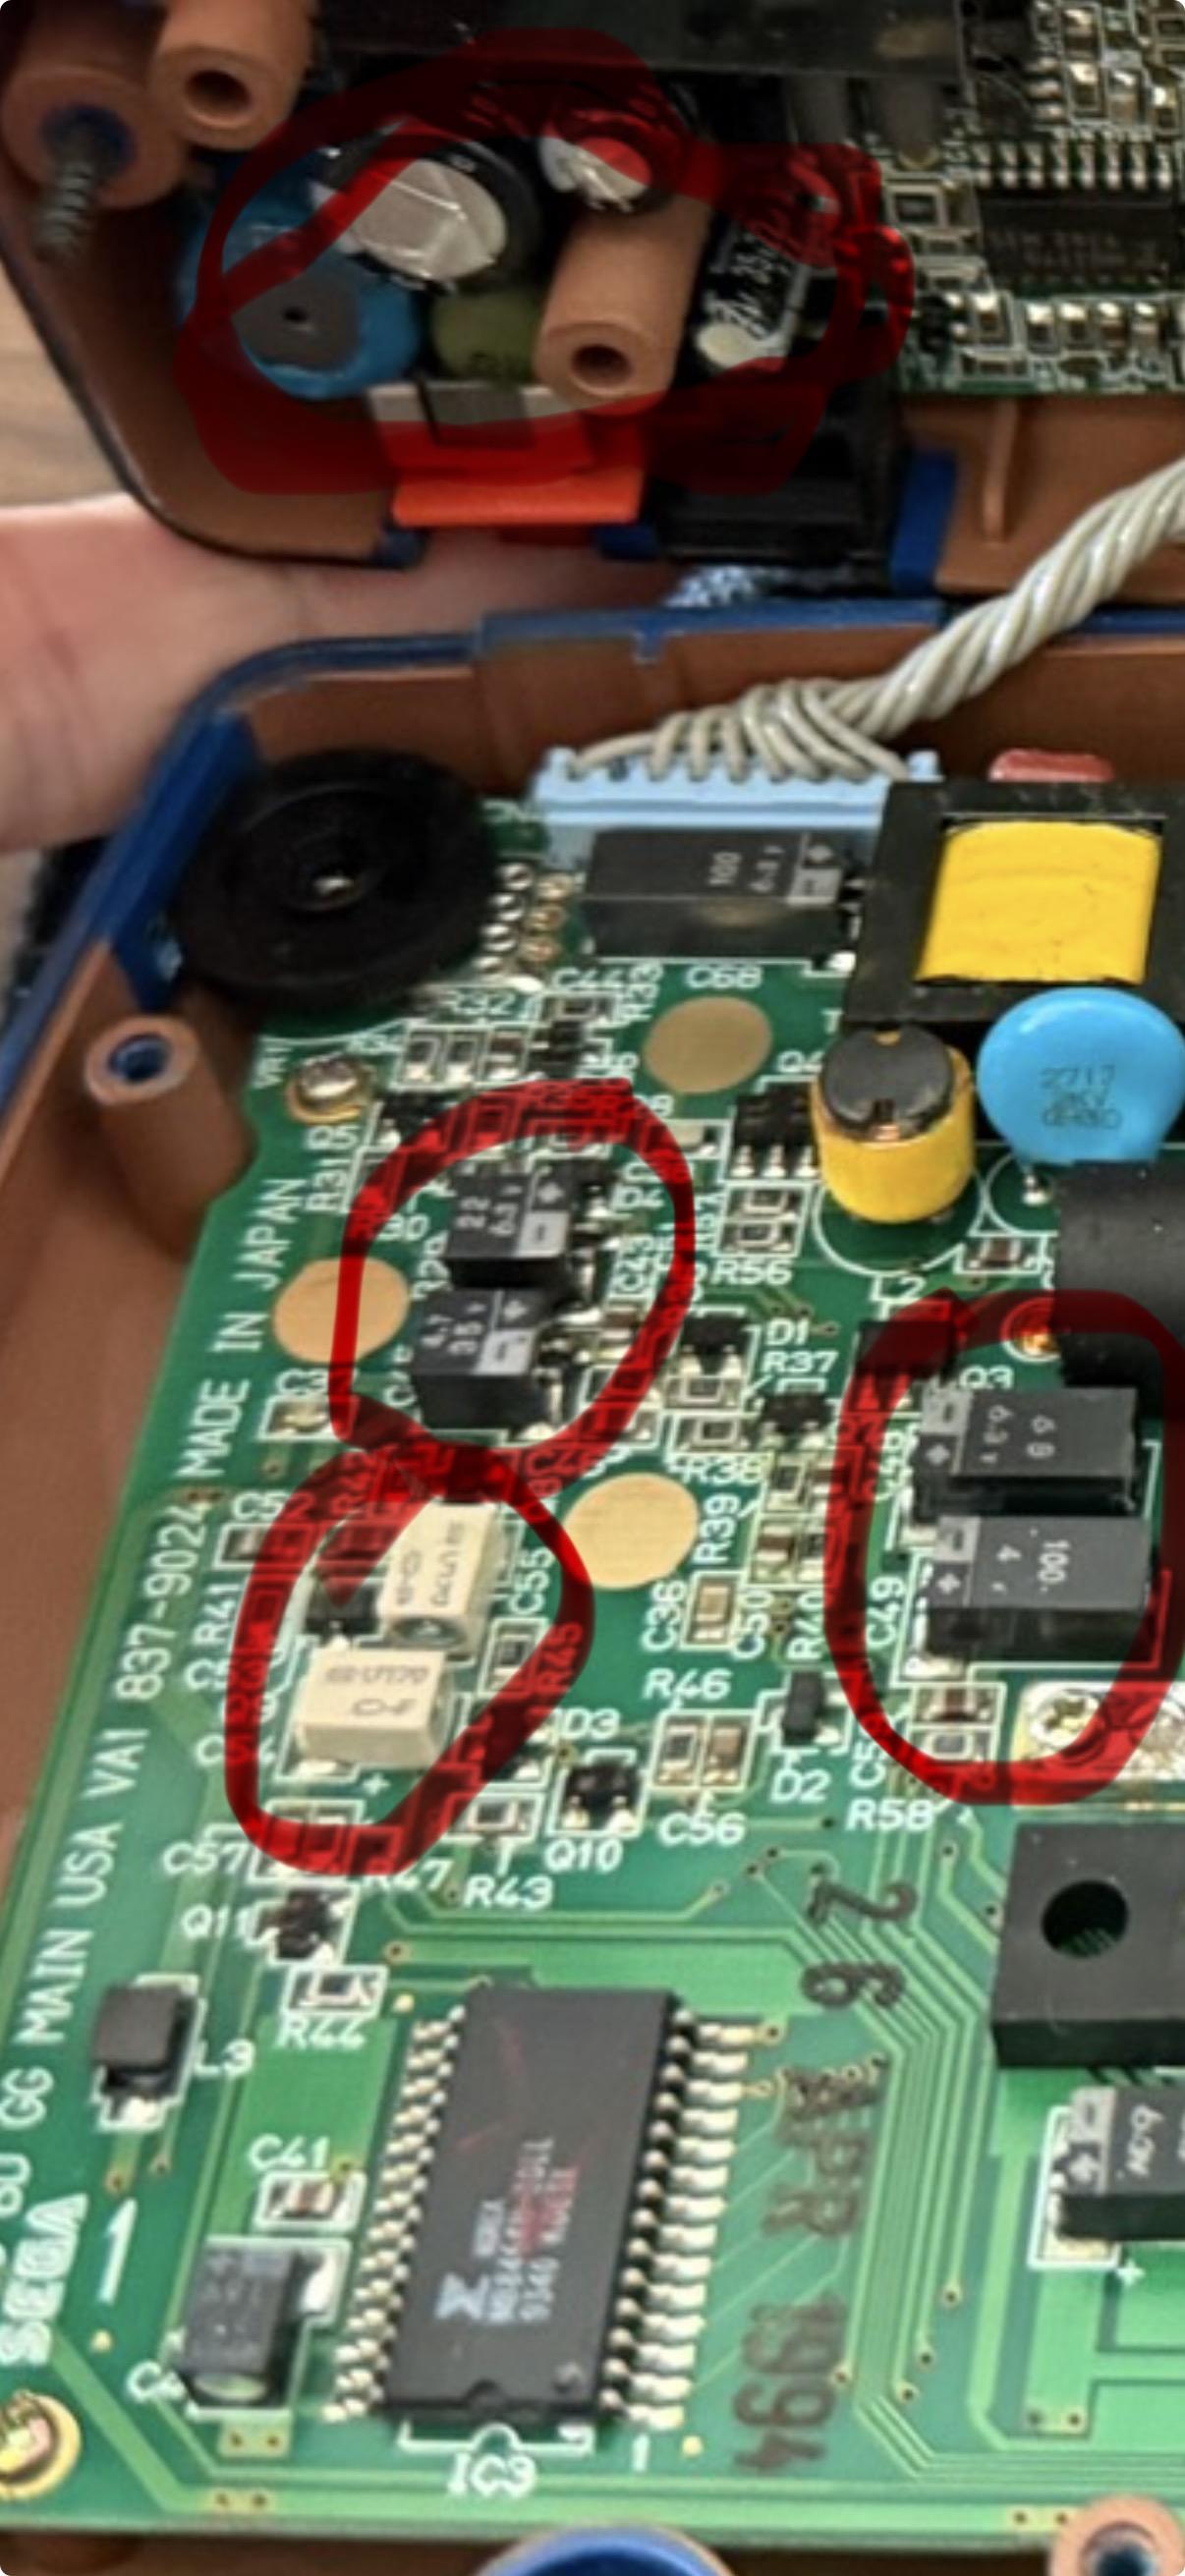
These little guys are many more like ‘em are what we’re after. I gotta tweeze these partially-glued capacitors off the board, then desolder each one, clean up, bend the legs on the new capacitor to fit nicely on the board, solder the new capacitor in place. Check continuity. Repeat 14 times (not 19 as I thought, yey)
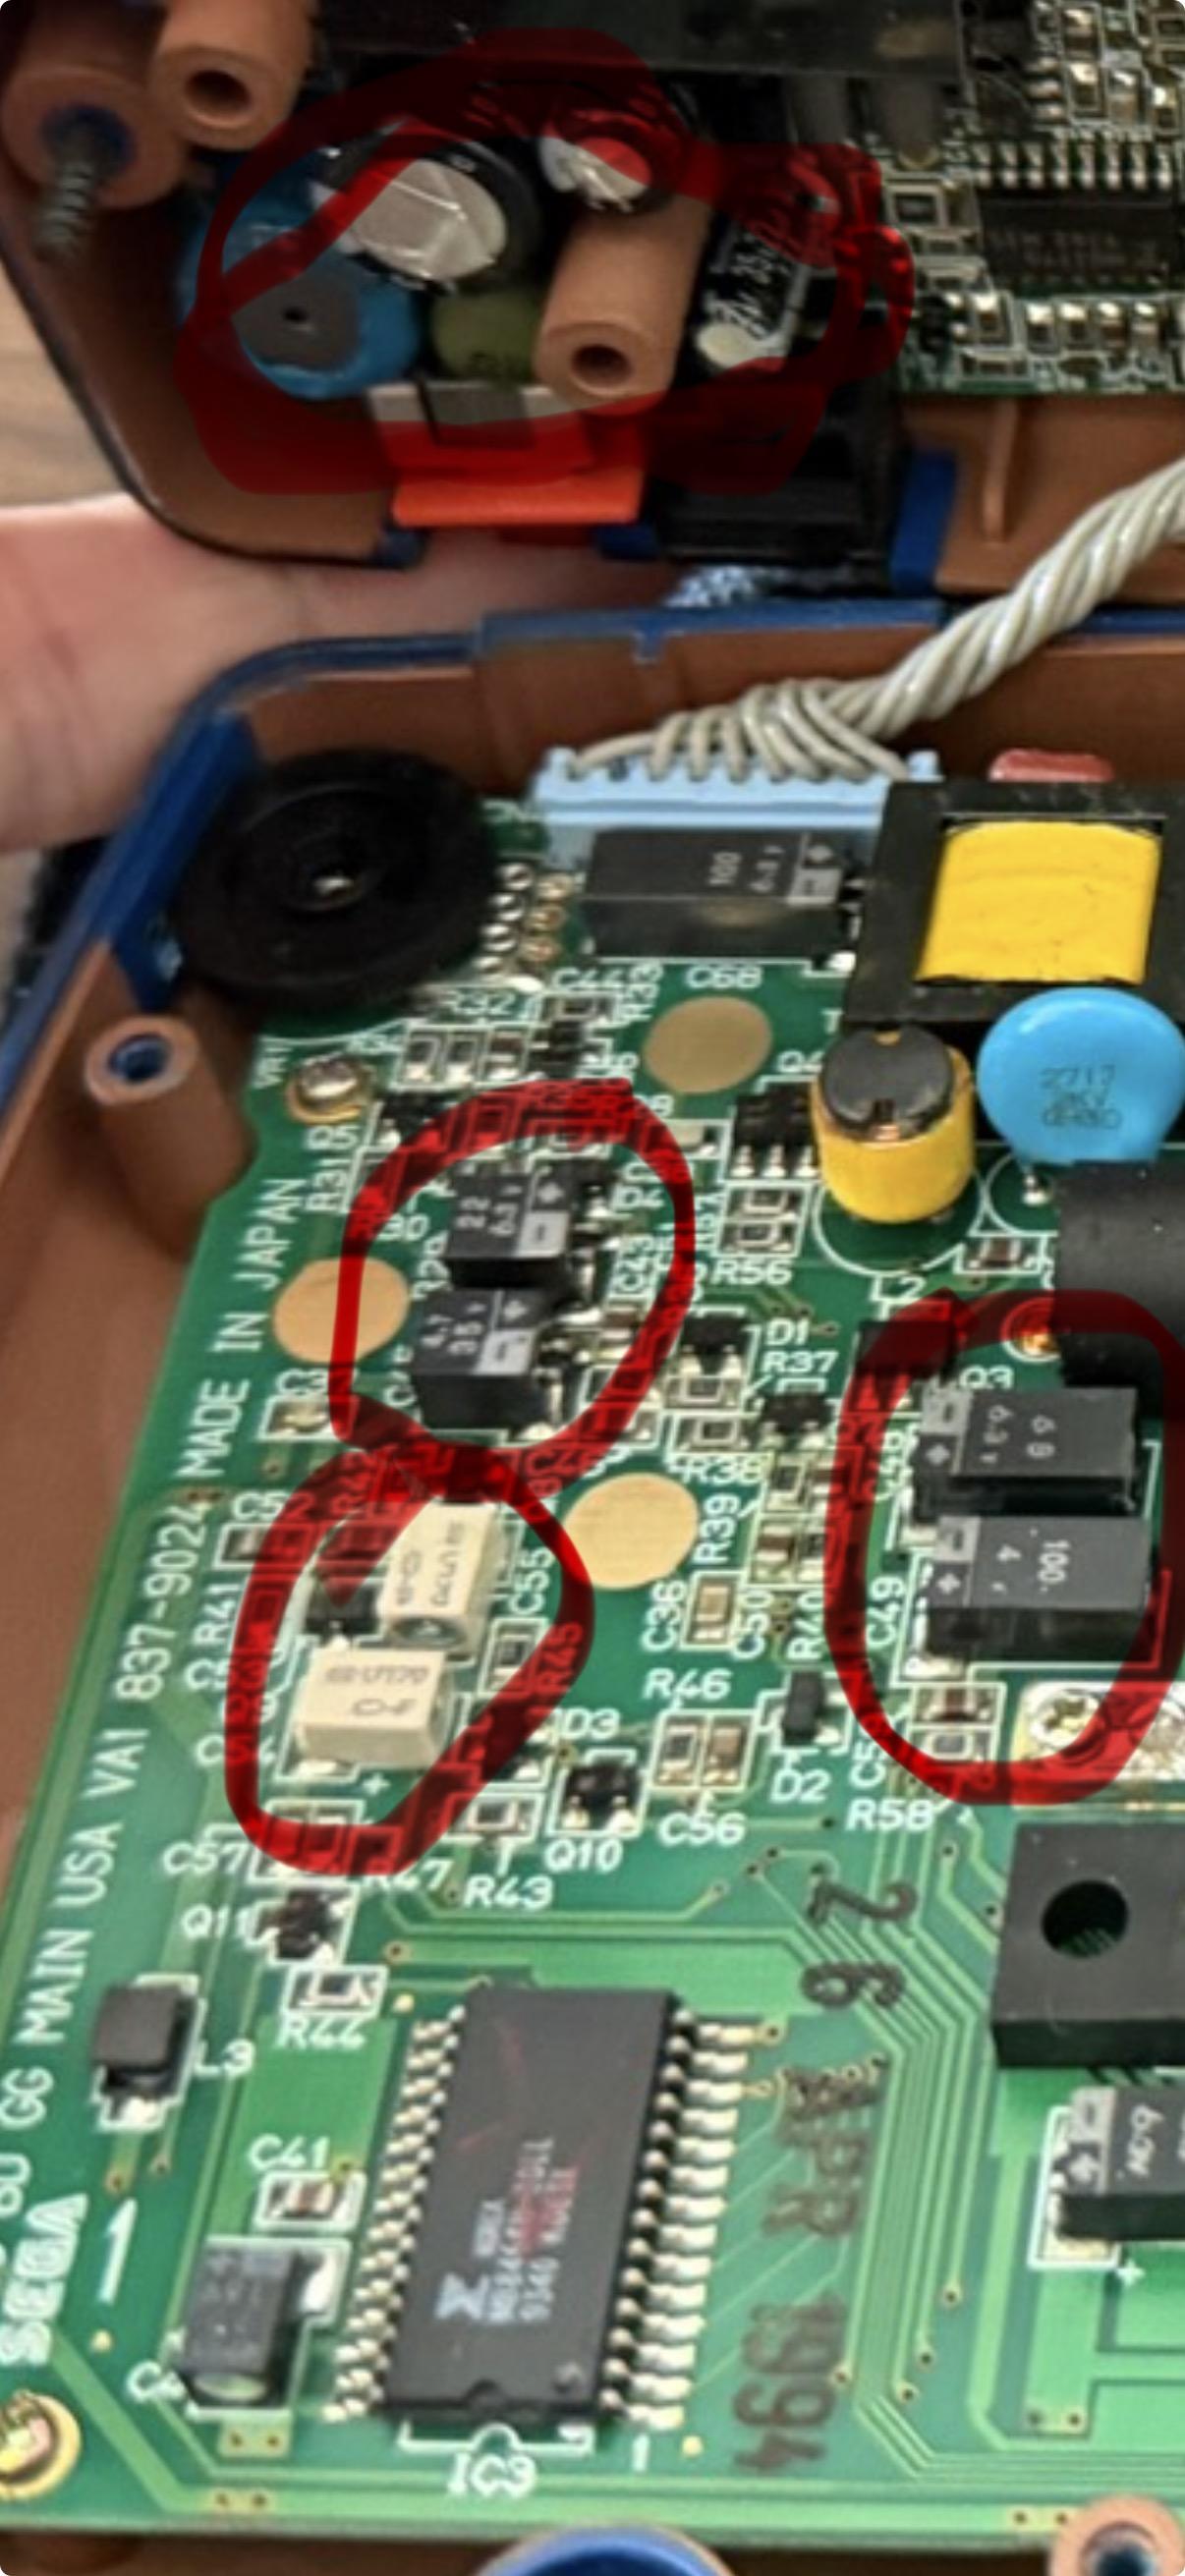
This is the VA1 single ASIC, one of several configs that the Game Gear shipped with. Including a surprise revival in the 2000s by Majesco.


These little guys are many more like ‘em are what we’re after. I gotta tweeze these partially-glued capacitors off the board, then desolder each one, clean up, bend the legs on the new capacitor to fit nicely on the board, solder the new capacitor in place. Check continuity. Repeat 14 times (not 19 as I thought, yey)
After a quick cleaning and fresh batts, it boots! No audio, and the screen is too dark to play, but I can see the game starting. I guess that’s a semi-good sign, but… we have a lot of capacitors to replace, folks.
19 caps total, many are surface mount. This is going to be a serious challenge for me tbh. Wish me luck. Stay tuned.

@philnelson good luck! i have my original one that still boots with a terrible screen and i’m terrified to open it up and see what the cap situation is
@ryan to see is to always see too much, but we must turn toward that which frightens us in order to grow.

The good news is I didn’t see any capacitors actually LEAKING here, and the 3 boards were quite clean already overall.